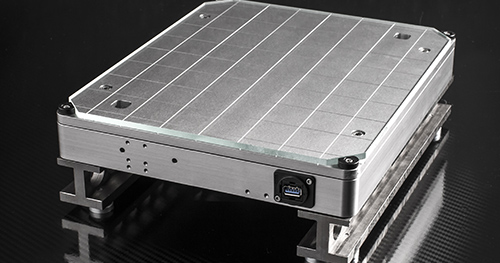
CmPrint 2.02025-11-18T11:28:24+01:00
CmPrint – Reliably Measuring Precision in Solder Paste Printing

Measure accuracy, stability, and squeegee force – simultaneously with one device.

Precisely record accuracy and force profiles – making quality measurable

Solder paste printing is the first and crucial step in SMT manufacturing – and thus decisive for the quality of all subsequent processes. Even the smallest deviations can have significant impacts and lead to costly errors.

With CmPrint, a complete solution is available to measure accuracy, stability, and squeegee force. This allows weaknesses to be identified early, processes to be optimized sustainably, and quality to be secured long-term.

CmPrint 2.0 Basic & Expert

Tailored tests for stable printing processes

CmPrint 2.0 Basic

With CmPrint Basic, you can precisely and reproducibly record squeegee forces and profiles. This allows deviations to be reliably detected and printing quality to be sustainably ensured.

  • Measured characteristics: Squeegee force

  • Typical errors: Uneven squeegee forces, dependencies on squeegee direction, instabilities

CmPrint 2.0 Expert

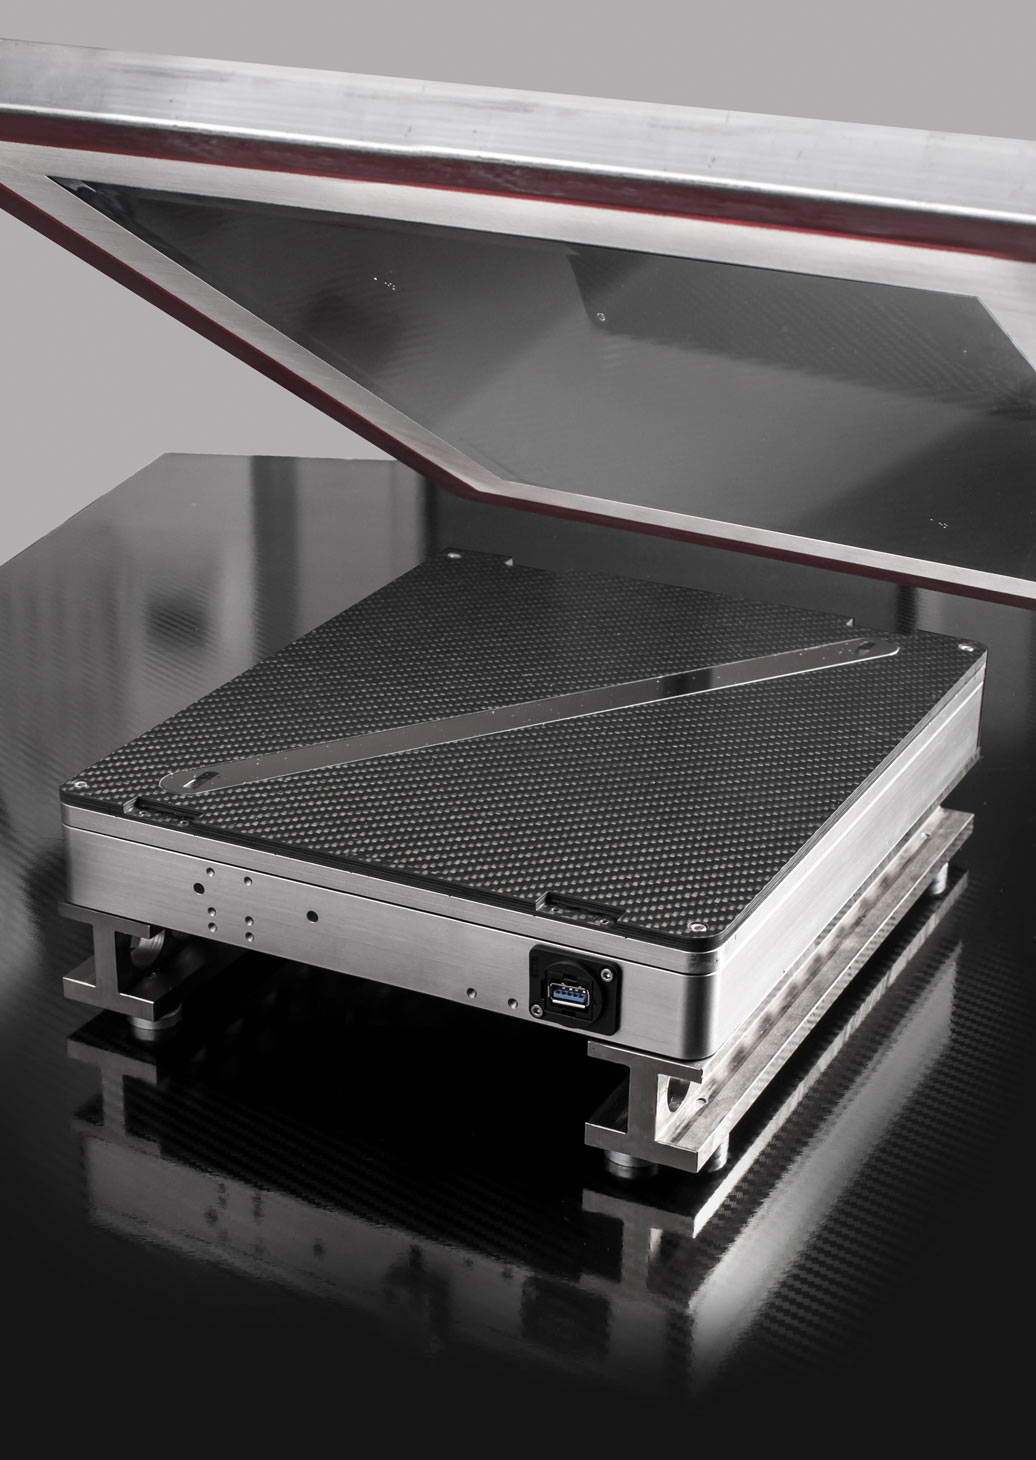
With CmPrint 2.0 Expert, you analyze accuracy in addition to squeegee forces. Measurements are taken dynamically across the entire squeegee path – without solder paste. This eliminates the influence of the printing medium and the operator.

  • Measured characteristics: Accuracy and repeatability for X, Y Theta, squeegee force

  • Typical errors: Printing offset, differences depending on squeegee direction, instabilities

Secure precision in your production now

Achieve exact measurements and increase your process quality – start now.

The most important advantages in a quick check

Quickly find errors, optimize processes, master audits

Specialized in SMT requirements

Adapted to real production conditions – no laboratory environment required.

Measurements directly in production

Records precise results with minimal production interruption, usable independently of manufacturer.

Evaluation optimized for root cause analysis

Targeted analysis for sustainable process improvements and quality enhancement.

Fast, detailed documentation

Clear reports – immediately usable internally and externally, including audit trails.

Competent advice from the measurement service

Benefit from our many years of experience from thousands of measurements worldwide.

Clear answer to audit questions

Provide reliable evidence for customer and audit requirements at any time.

Frequently asked questions about CmForce

Technical details easily explained

Is there technical evidence of measurement device capability?2025-08-12T08:46:46+02:00

Yes – a calibration with a reference plate confirms that CmPrint 2.0 Expert meets the requirements for measurement accuracy and reproducibility.

How does the system detect instabilities?2025-08-12T08:46:28+02:00

CmPrint 2.0 Expert measures multiple times per squeegee cycle, revealing movements between the PCB and stencil, such as those caused by table tilting or angular instabilities.

How relevant is Theta measurement?2025-08-12T08:45:49+02:00

Highly – because even a rotation of 0.01° on a printed circuit board (~ 205 × 187 mm) can lead to an offset of 18 µm (x) and 16 µm (y) – at all corners of the board.

What do the measurement results provide?2025-08-12T08:45:34+02:00

They provide clear statements on:

  • Accuracy (Offsets in x, y, and Theta)

  • Stability (Repeatability)

  • Squeegee forces and their distribution across the print area

How does CmPrint 2.0 Expert differ from the Basic system?2025-08-12T08:45:13+02:00

CmPrint 2.0 Expert offers a complete, dynamic diagnosis: It measures accuracy, stability, and squeegee forces in a single process – without printing medium and without operator influence.

What features does CmPrint 2.0 Basic offer?2025-08-12T08:18:17+02:00

With CmPrint 2.0 Basic, forces and pressure profiles during squeegee operation are precisely recorded. The measurement data indicates whether the set squeegee force is maintained or if deviations are present. This prevents quality issues, and maintenance or calibration requirements can be clearly identified.

Secure precision in your production now

Achieve exact measurements and increase your process quality – start now.

Go to Top