3D reference plate for evaluating the measurement capability of SPI systems
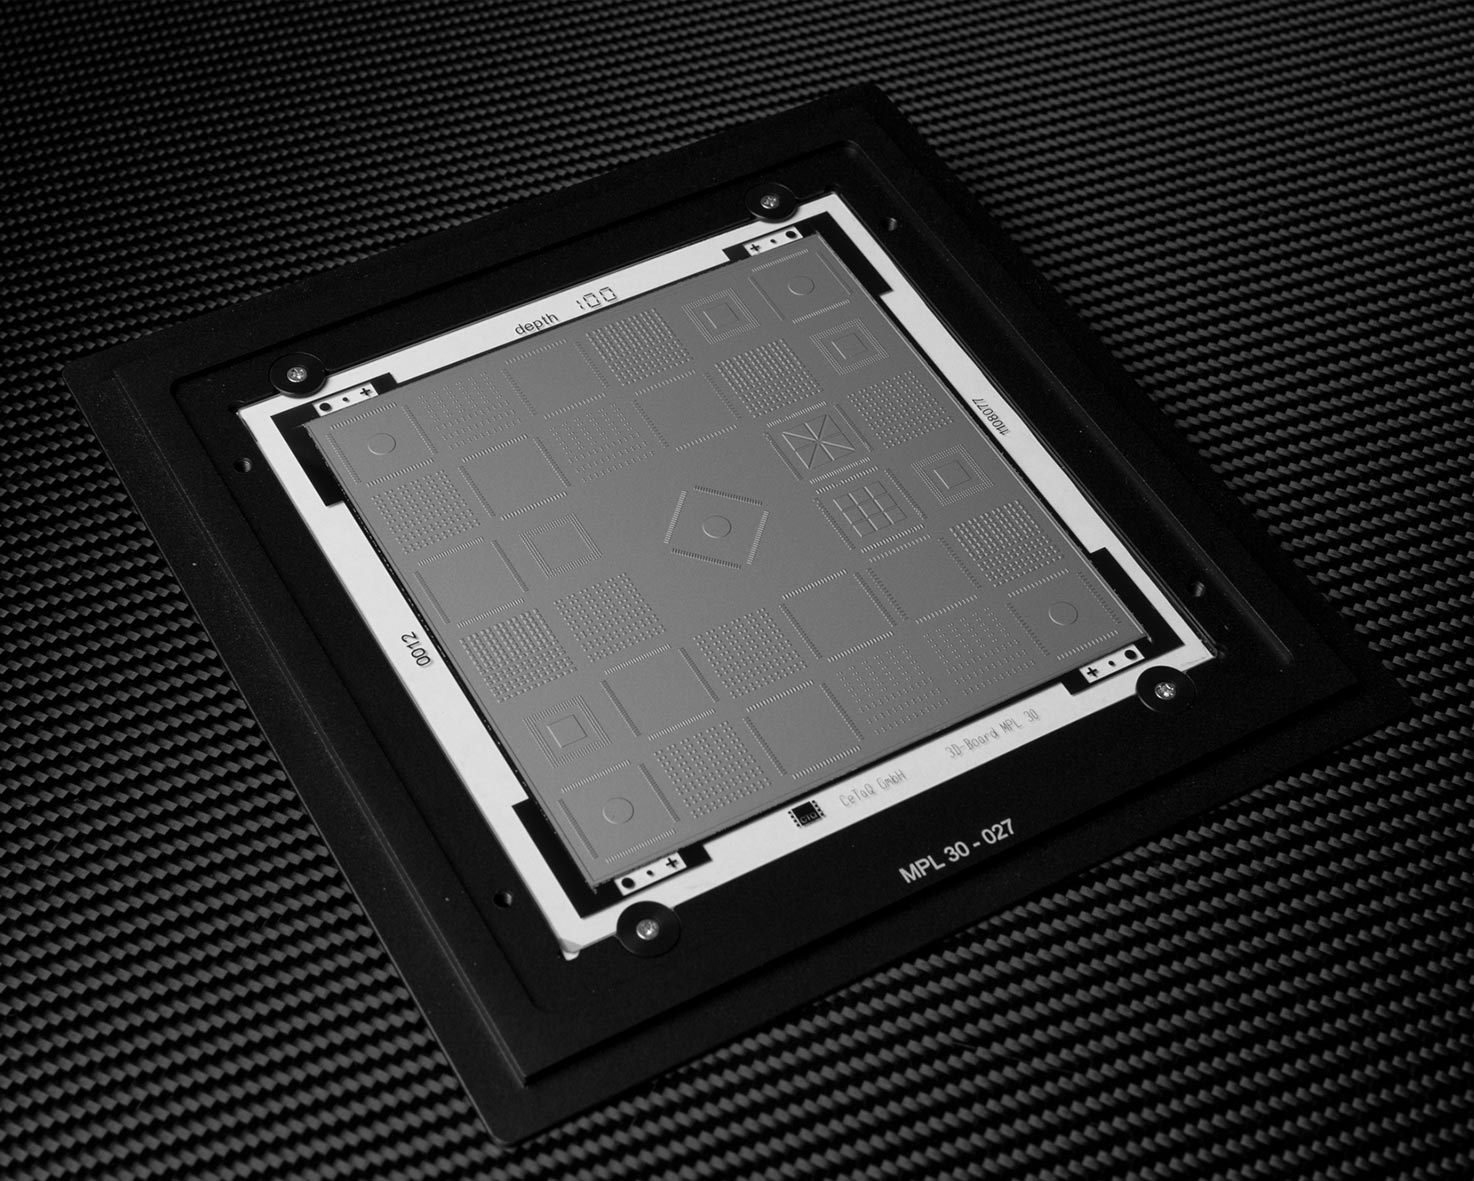
3D-SPI Board – Reference standard for validating Solder Paste Inspection systems
Precise solder paste printing is the foundation for efficient and cost-effective SMT production. The 3D-SPI Board, which utilizes a structured glass substrate, reliably ensures the measurability of x, y position, height, volume, and area. This is ideal for direct process control and quality assurance, as it allows for the identification of error sources and the sustainable improvement of manufacturing quality.
Quickly find errors, optimize processes, master audits
Interpret SPI results more effectively by understanding the measurement accuracy
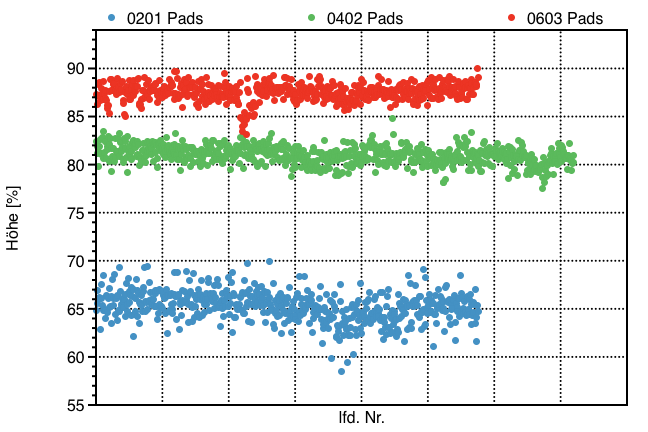
Analysis of the measured height in relation to the deposit size

The measurement indicates that the height measured by the SPI depends on the size of the deposit. Deposits of smaller components tend to be measured as ‘flatter’. This is an interesting effect, considering that all structures on the 3D SPI Board have the same height.
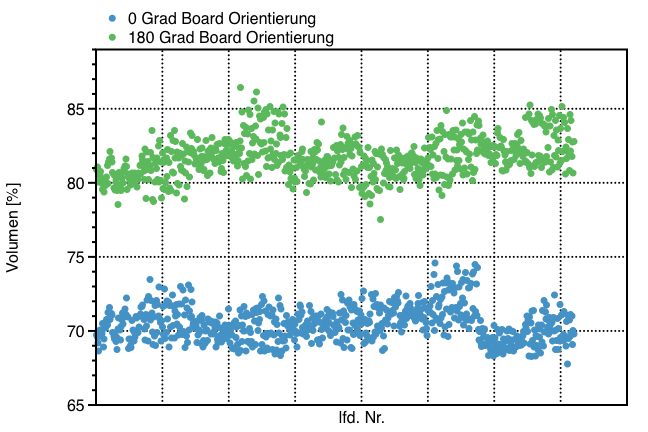
Influence of the 3D Board’s orientation on the displayed volume

For the test, the 3D SPI Board was measured in two different orientations. A 10% difference in the displayed volume becomes apparent. This is critical if the circuits on the panel have different orientations.

