Measurement Plates & Measurement Components2025-11-18T11:28:12+01:00
Measurement Standards & Glass Components – Precision Reference for CmController

High-Precision SMT Reference – Precise, Robust, Calibratable

Measurement Plates – Precision for Your Process Validation with the CmController

Instead of circuit boards, high-precision measurement plates with precisely etched fiducial marks are used. These pass through the system to be tested just like in a typical manufacturing process, thereby eliminating all deviations caused by production materials.

The most important advantages in a quick check

Eliminate Sources of Error, Measure Precisely, Master Audits

SMT-Compatible

Our measurement plates and components are processed like standard materials in production lines. This ensures realistic results.

Robust

Embedded in frames or housings – reliably protecting the expensive, sensitive glass.

Precise and Traceable

All structures are manufactured with micrometer precision. Through accredited calibration, the measuring instruments are connected to international standards.

Individually Flexible

Standard Measurement Plates: MPL02, MPL07, MPL09
Standard Component: TQFP100 and BGA228
Custom designs possible upon request.

Parallax-Free Guaranteed

Our glass components do not have the pin structure behind glass, thus eliminating errors due to parallax.

Standard Handling

Our components can be fed to the pick-and-place machine via tray or feeder – exactly as in normal production.

Laser Board

Reference Board for Laser Marking

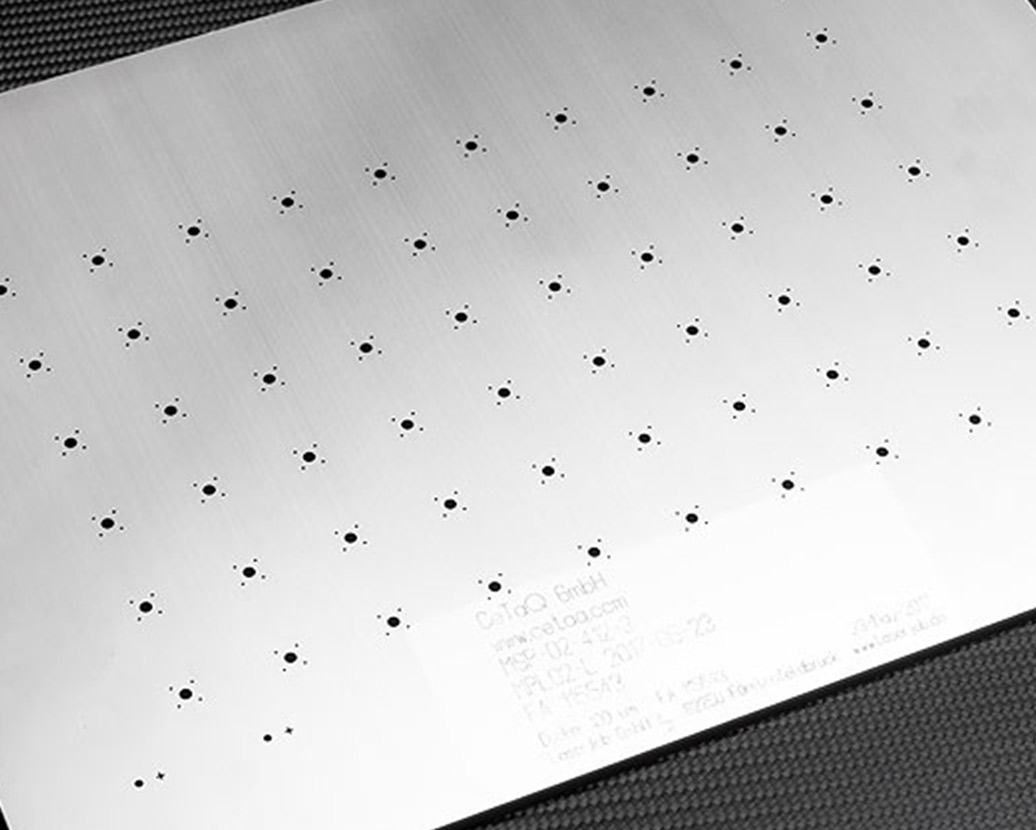
It is a measurement plate specially developed for the validation of marking lasers. It is mechanically stable and robust against laser beams. Markings are made on a supplied, replaceable film.

  • SMT-Compatible
    Specially developed for real production conditions

  • Laser Film
    Discolors due to the laser

  • Robust and Durable
    Composite stainless steel combination, dimensionally stable and resistant to laser beams

  • Measuring Instrument for the CmController
    Compatible with all CmController models

  • Audit-Secure
    Certificate from an accredited calibration laboratory available

Standard Measurement Plates

Standard Measurement Plates

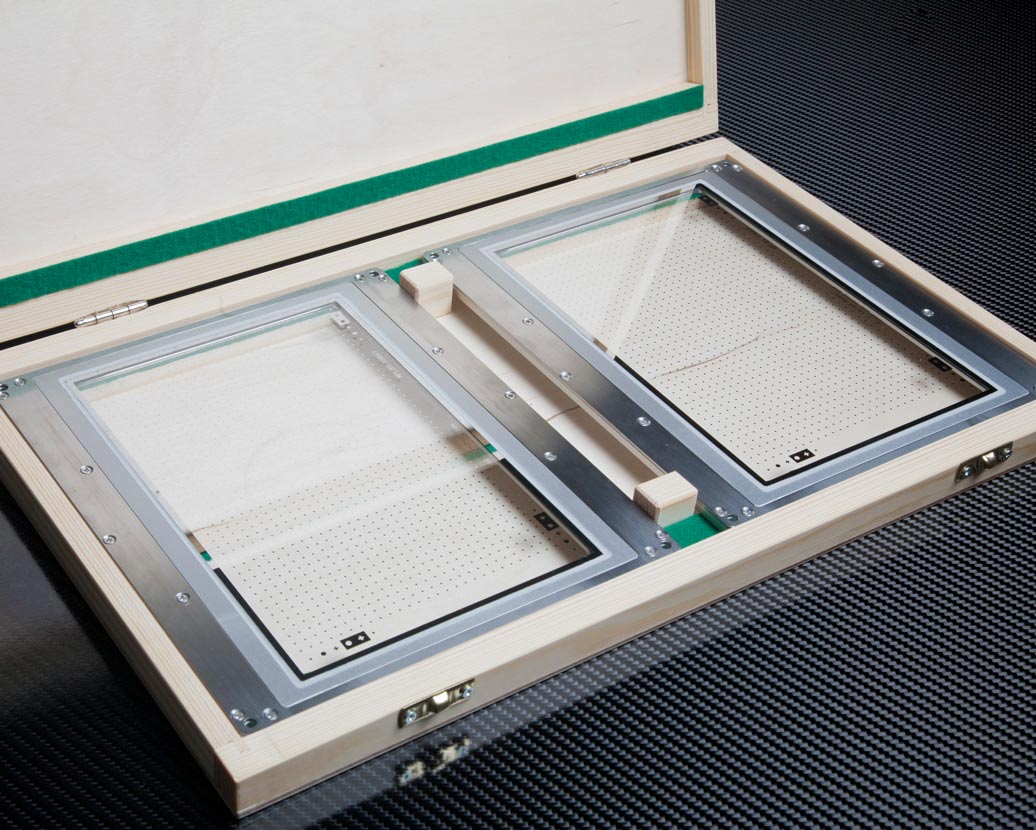
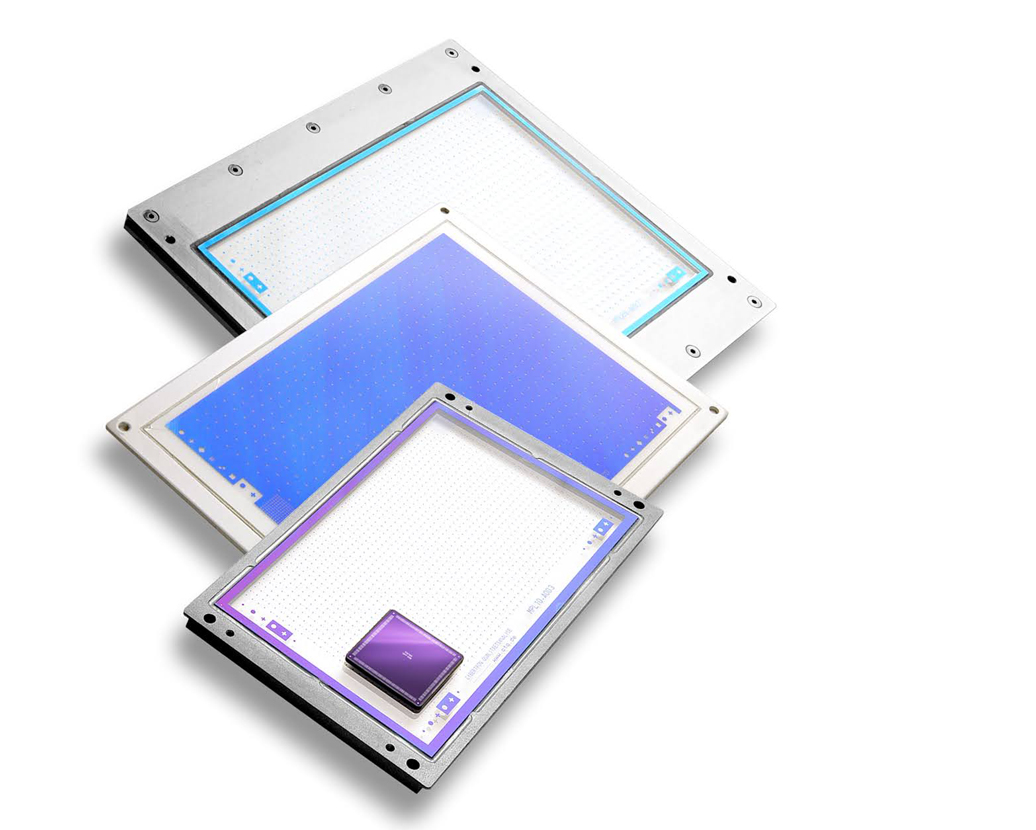
Measurement plates are the basis for measurements with the CmController. They are processed by SMT machines like a normal circuit board. The subsequent measurement compares the work result with the specifications.

  • SMT-Compatible
    Recognized and processed like a normal circuit board

  • High Accuracy
    The measurement plates are made of glass and have micrometer-precise measurement structures.

  • Available in Different Sizes
    Three different sized measurement plates are available as standard. Custom sizes can be manufactured.

  • Measuring Instrument for the CmController
    Compatible with all CmController models

  • Audit-Secure
    Certificate from an accredited calibration laboratory available

Components 

Measurement Components

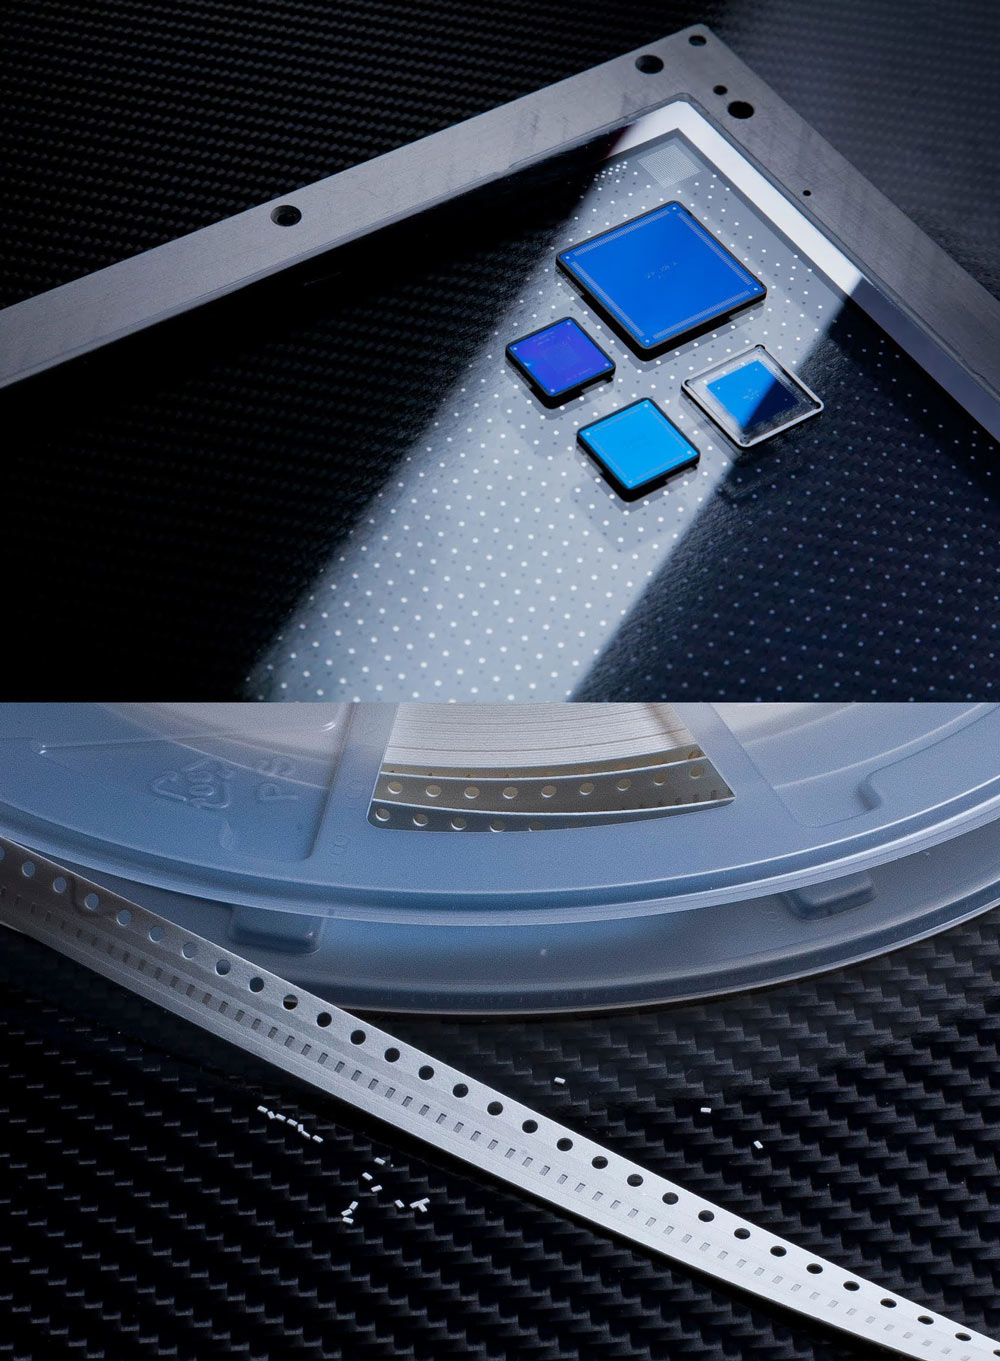
Measurement components are required for checking SMT pick-and-place machines. These are placed on one of our measurement plates, and their positions are measured with the CmController.

  • SMT-Compatible
    Components are recognized and processed like real components

  • High Accuracy
    The multi-pin components are micrometer-precise replicas made of glass. Chip components are made of ceramic.

  • Robust and Durable
    Thanks to the patented design, the glass elements are protected and remain clean for a long time with proper use.

  • Standard Range of Measurement Components
    IC Component: TQFP100 (Glass component in tray)
    BGA Component: BGA228 (Glass component in tray)
    Chip Component: 0402 ceramic components from the reel

  • Audit-Secure
    Certificate from an accredited calibration laboratory available

Frequently Asked Questions about Measurement Standards & Glass Components

Technical details easily explained

What is the purpose of measurement structures on the measurement standards?2025-08-12T14:21:01+02:00

Additional measurement points are applied to the measurement plates and glass components, which enable the measurement system (e.g., CmController) to determine the position of components, etc.

Why are high-precision measurement plates and components needed?2025-08-12T14:20:48+02:00

Components and circuit boards used in production often have very large tolerances. If these are used for measurements, the results will contain a mix of machine and component tolerances. Therefore, the tolerances of production components are eliminated by using precise, highly accurate replicas.

What are the dimensions of the standard measurement plates?2025-08-12T14:20:34+02:00

Common reference plates include: MPL02, MPL07, and MPL09. For special requirements, we also manufacture individual measurement standards.

  • MPL02: 340×240 mm
  • MPL09: 216×185 mm
  • MPL07: 7”x4” (153.4 mm x 101.6mm)
Are they robust enough for practical use?2025-08-12T14:20:20+02:00

Yes – encapsulated in housings or frames, they can usually withstand falls from one meter without damage.

How are they processed?2025-08-12T14:20:02+02:00

They are handled like normal SMT components and automatically processed by production machines.

Technical data2025-08-12T14:19:34+02:00
  • Material: High-precision glass, embedded in frame/housing

  • Reference Types: MPL02, MPL07, MPL09 (standard), individual special cases possible

  • Special Features: Glass integrated into plastic housing, pin structure, glass-based conductor simulators

  • Protection: Protection against breakage, robust up to a 1 m drop

  • Patent: Design and construction features are patent protected

Secure precision in your production now

Achieve exact measurements and increase your process quality – start now.

Frequently Asked Questions about Laser Boards

Technical Details

What specific benefits do measurements offer for lasers & labelers?2025-08-29T03:53:15+02:00

They prevent costly rework, ensure audit capability, and provide reliable quality management throughout the line.

Why is traceability so important?2025-08-29T03:53:00+02:00

Flawless identification is mandatory in many industries, as it ensures quality standards and meets the requirements of audits and certifications.

How does CeTaQ detect such errors early?2025-08-29T03:52:46+02:00

Precise measurements of accuracy and repeatability reveal even the smallest deviations before they impact production.

What are the most common errors encountered in laser and labeler systems?2025-08-29T03:52:32+02:00

Often, these are offsets or inaccurate markings that affect the traceability and quality of the products.

Go to Top